Space and power
- 1.2 × 0.8 m footprint, level and rigid
- 360° service clearance at the column
- 100 mm to any combustible surface
- Grounded 110/220 V outlet, no shared strip
Set up your Caverjoy machine and finish a first verified project. Seven guided steps, about 25 minutes, no account required.
Bring a sturdy bench, a grounded 110/220 V outlet and a 75 mm exhaust duct.SAFETY AND UNBOXING
Class 4 open-frame Z12, Class 1 enclosed C1. Confirm every item below before you power on.
Class 4 laser. Never bypass the interlock or run with the enclosure open. Eyewear must be OD6+ at 1064 nm on Z12 and OD6+ at 10,600 nm on C1.
Nothing here is pre-ticked — items stay visible until you confirm each one in the app.
INSTALLATION AND CONNECTION
The Z12 sequence. Every step states its goal, what to do, and how you know it is finished, plus the file you need. Switching machines reloads all seven.
Step 1 of 7. Your position is kept on this device, no account needed.
STEP 01 OF 07
Track will not run?
FIRST PROJECT
A 40 mm stainless coin on 3 mm birch plywood. Stock, file, parameters and the expected result are all listed, so nothing is left to guess.
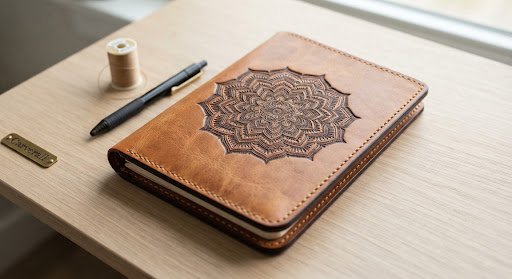
MATERIAL · 3 mm birch plywood
THICKNESS · 3.02 mm, checked with caliper
CONDITION · Sanded, dry, flat
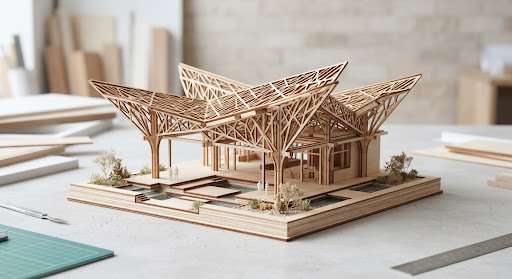
DOWNLOAD · maker-coin-40mm.svg, no sign-in
PARAMETERS · Z12, 50 W, birch 3 mm
SOURCE · Open the Material Library record

EDGES · Clean 0.2 mm, no burn-through
FIT · Coin drops free, no scorching
DEPTH · 0.4 mm engraved, verified on 3 runs
Test conditions: Z12 50 W · 3 mm birch plywood · Caverjoy Studio 2.4 · verified 2026-09. Parameters are a starting point, so run a 20 mm corner test on your own stock first.
DO NOT RUN UNVERIFIED MATERIALTROUBLESHOOTING AND HELP
Every question, sorted by machine, software, orders, shipping and returns.
Open FAQAsk other owners in the Caverjoy Community, searchable by step.
Open communitySend the details to support@wp.caverjoy.com and keep the thread for follow-up.
Email supportBusiness-hours messaging for order and setup questions.
Coming soon